Lifestyle…Family…Design…Travel
Lifestyle…Family…Design…Travel


Did you wake up today and say to yourself: “I wish I knew how to make some pompom Christmas ornaments!”? Did you?? Well you are in luck because I am here to help! Sidenote: I am obsessed with all things pompom and now that I can make little pompom ornaments I am basically in heaven.
During our Thanksgiving break at the Lodge this year, I brought all of my pompom making materials and laid them out on the big dining table. Each day I made pompoms and perfected how to turn them into ornaments. It was mostly just fun to have a crafting activity for many of us in the house, something to do with our hands while we chatted and snacked. Once I brought the new ornaments back home and set them on my tree, however, I was hooked. These are easy and fun to make. Let’s get to it, shall we?

Assemble your tools. You will need (1) yarn (I am always a fan of Lion Brand), (2) good fabric scissors (mine are by Cutco and they are the best around), (3) something to weave your yard around – I use a block of wood that my husband drilled two shallow holes in for tall wood nails. These can be taken in and out as needed, and (4) ornament caps (mine are from here).


Step 1: Weaving. Get all of your yarn laid out and ready to go. Use as many colors as you want, layer one or two skeins together or stick with a single color. The choice is yours, depending on the look you are going for. Lay out your yarn through the two nails to begin.

Step 2: Wrapping. Now start wrapping your yarn around the two nails (or whatever you are using to create your pompom). The more you wrap, the larger and fuller your pompom will be.

Step 3: Tying. Once you have finished wrapping (not rapping…) tie off the middle with a length of yarn. You will want to tie this VERY tight.

Step 4: Bowtie. Once you have tied that middle nice and tight, wiggle your plop of yarn off of the nails. You will end up with something that kind of looks like a wonky bowtie?

Step 5: Cutting. You will need to cut through those loops EXCEPT for the main tie holding your wonky bowtie together. DO NOT cut this! Cut everything else. Once you have cut through the loops it is pompom haircut time! Trim, trim and trim some more until you get the shape you are looking for. I also rough up and fuzz out the yarn as I go. The fluffier and poofier the better, in my book.


Step 6: Capping. Now that you have the shape you want, it is time to turn this pompom into a Christmas ornament. This is accomplished by pushing the “talons” of the ornament cap deep into the center of the pompom. I found that pushing in the talons and then bending them slightly while they were within the pompom helped to secure them a bit more. Once you have got the cap secured, you can add string or a thread so that it can be hung from a tree/package/chandelier.


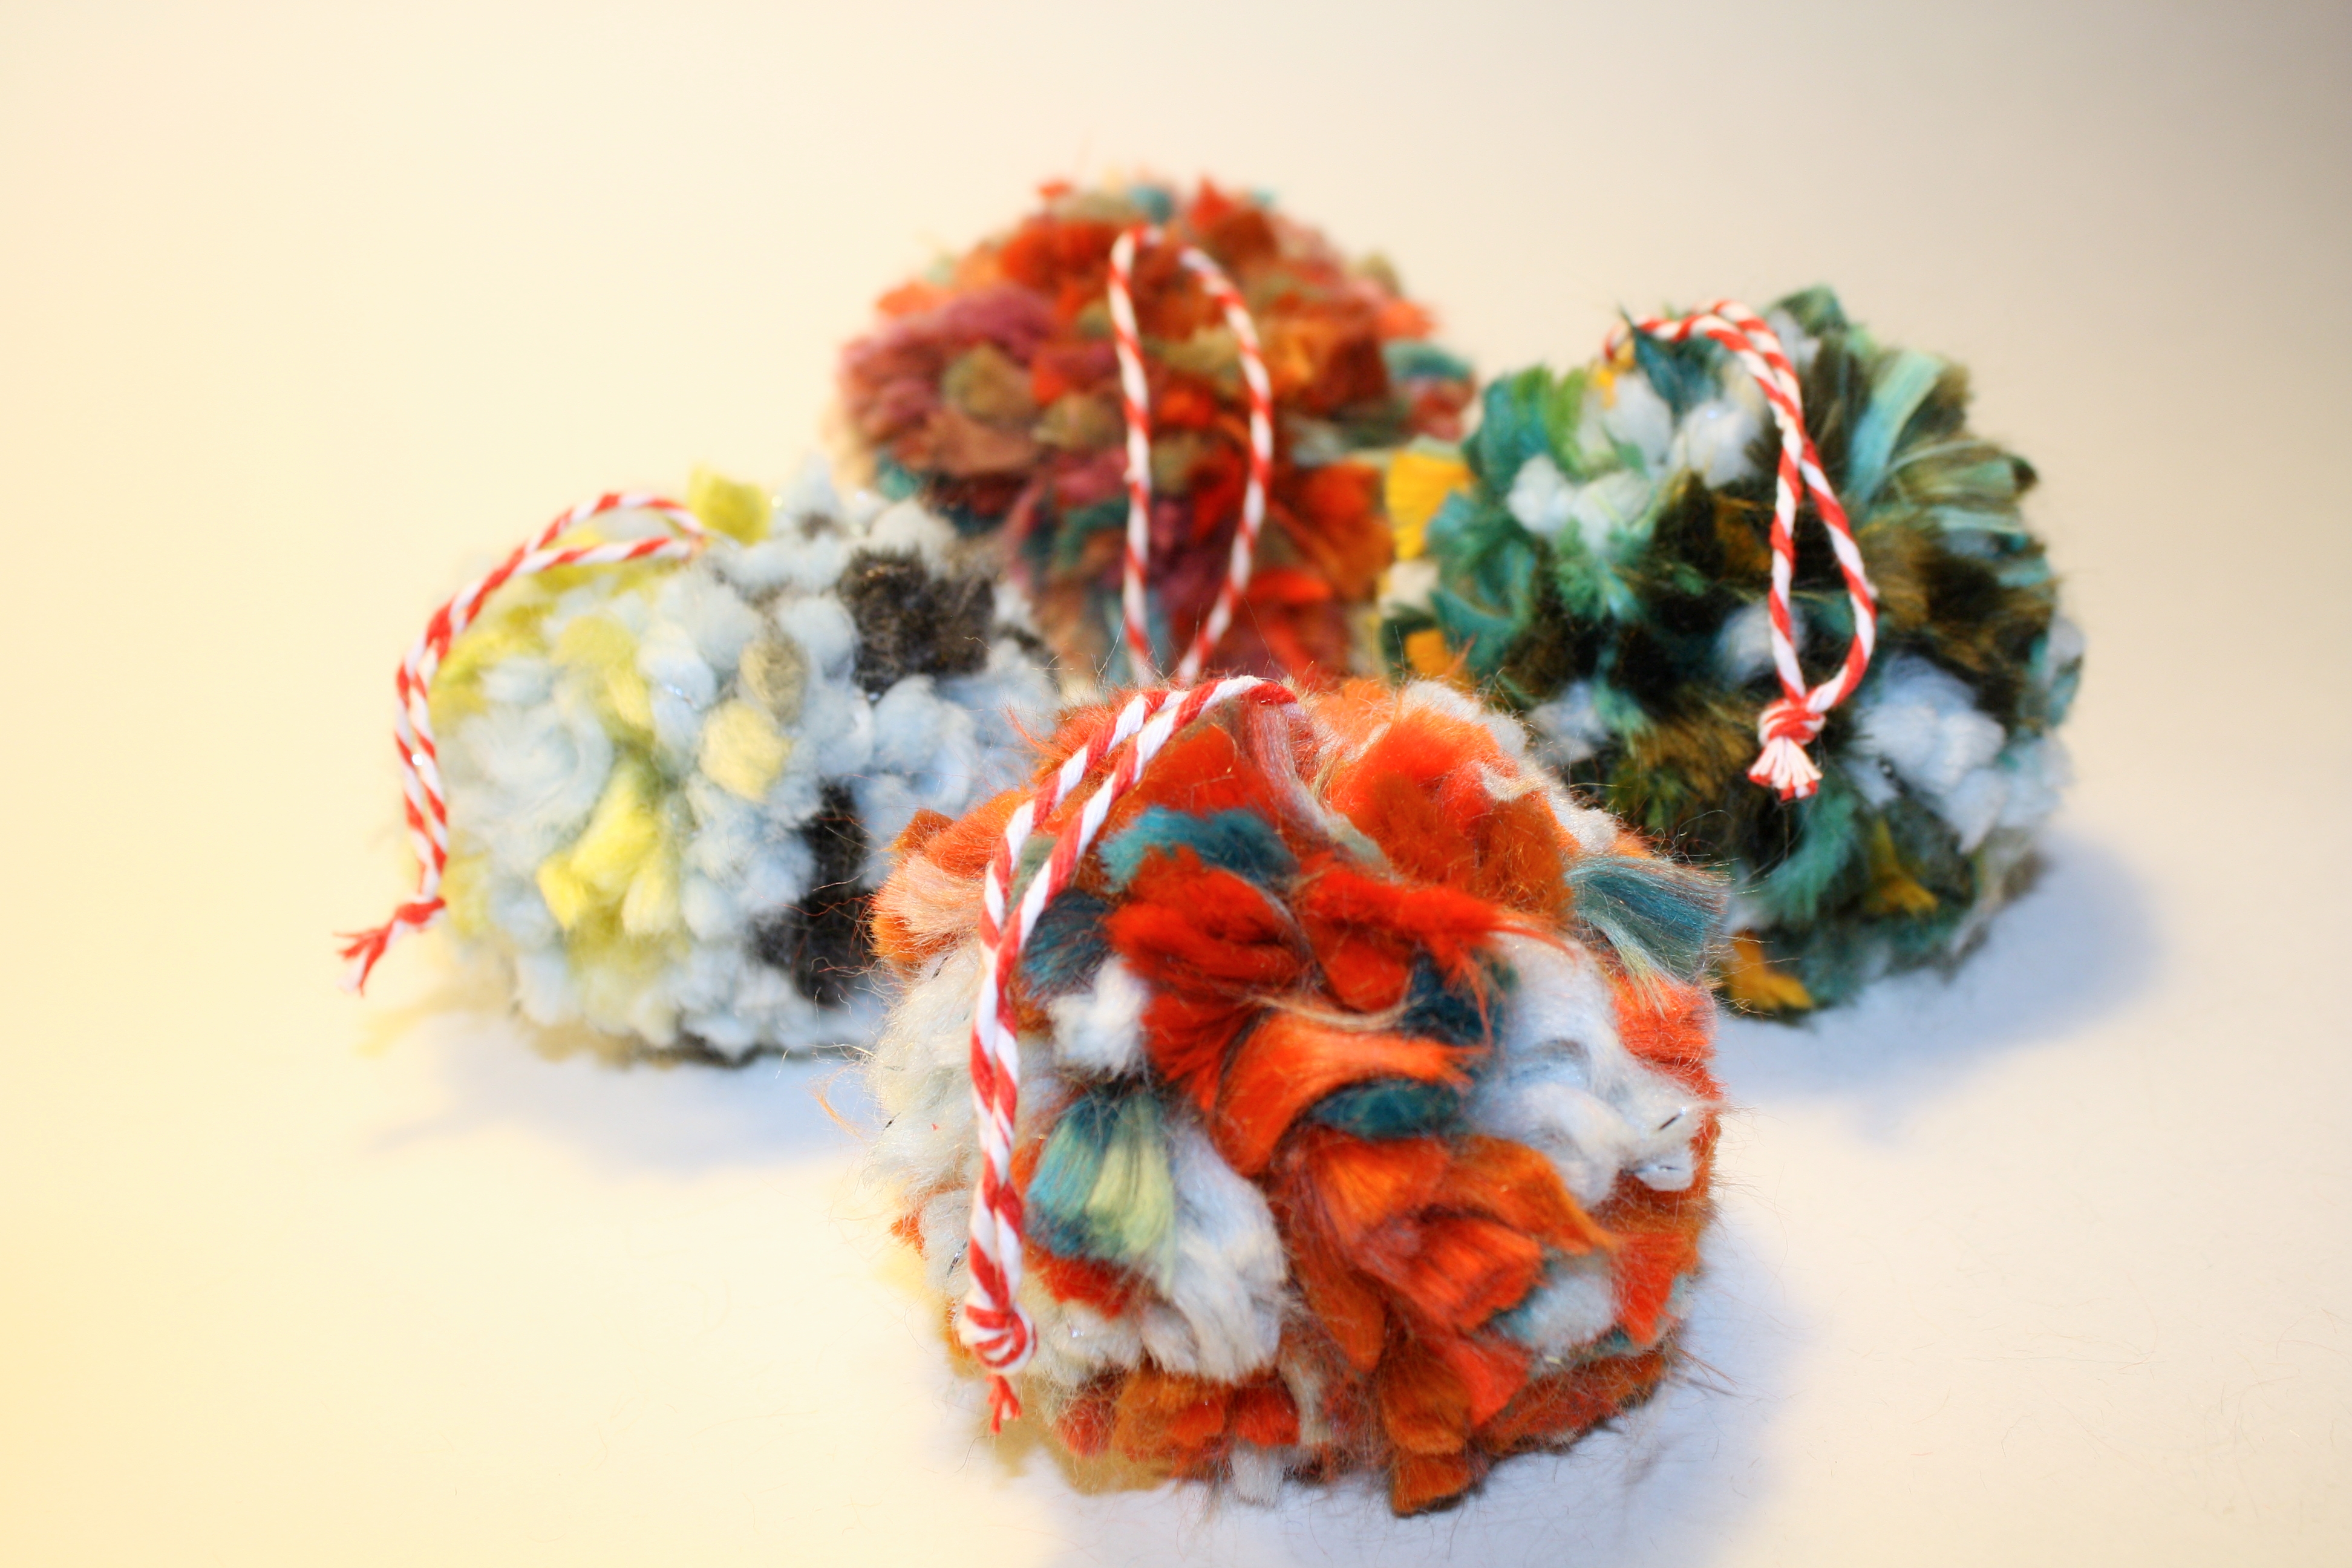
Step 7: ENJOY. You did it! And aren’t they so pretty?


Now go forth and create pompom ornaments! And please, report back and tell me how it went!


Error: API requests are being delayed for this account. New posts will not be retrieved.
Log in as an administrator and view the Instagram Feed settings page for more details.


Talk to me!